

How To Use
The Fitting Guide
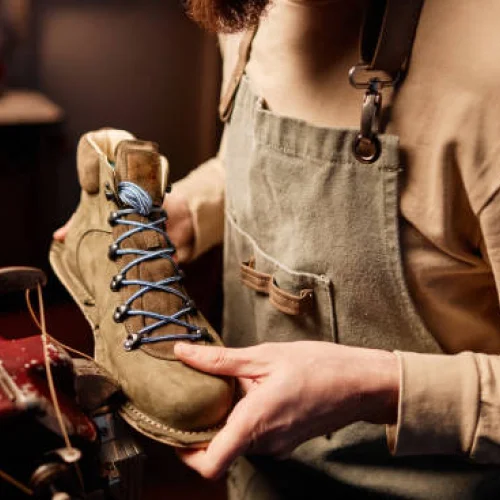
At The Handcrafted Elegance, every product is a reflection of timeless craftsmanship, tailored elegance, and your unique individuality. As a brand built for discerning modern wearer, we offer a fully digital made-to-order experience — without the need for a physical store.
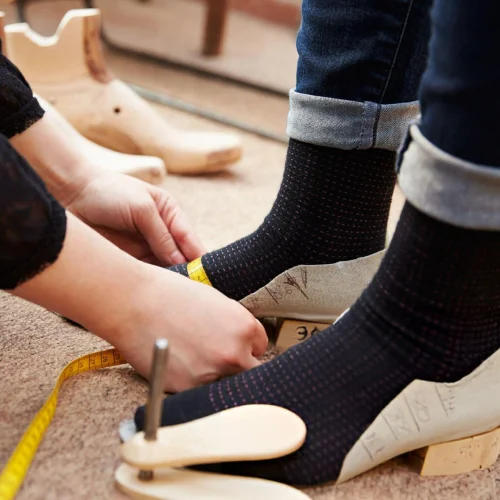
To ensure each piece fits you as if it were sculpted just for you, we’ve created this simple yet precise Fitting Guide. Whether you're customizing a pair of handcrafted shoes or a made-to-measure shirt or blazer, accurate measurements are the foundation of comfort, confidence, and style.
Follow the step-by-step instructions in this guide to take your measurements at home — all you need is a tape measure and a few quiet minutes. Once submitted, our craftsmen and tailors will translate your data into a personalized fit, bringing our atelier-level service directly to your doorstep.
Because true luxury isn't just about how it looks — it's how perfectly it fits you.
Download The Fitting GuideWhat You'll Need
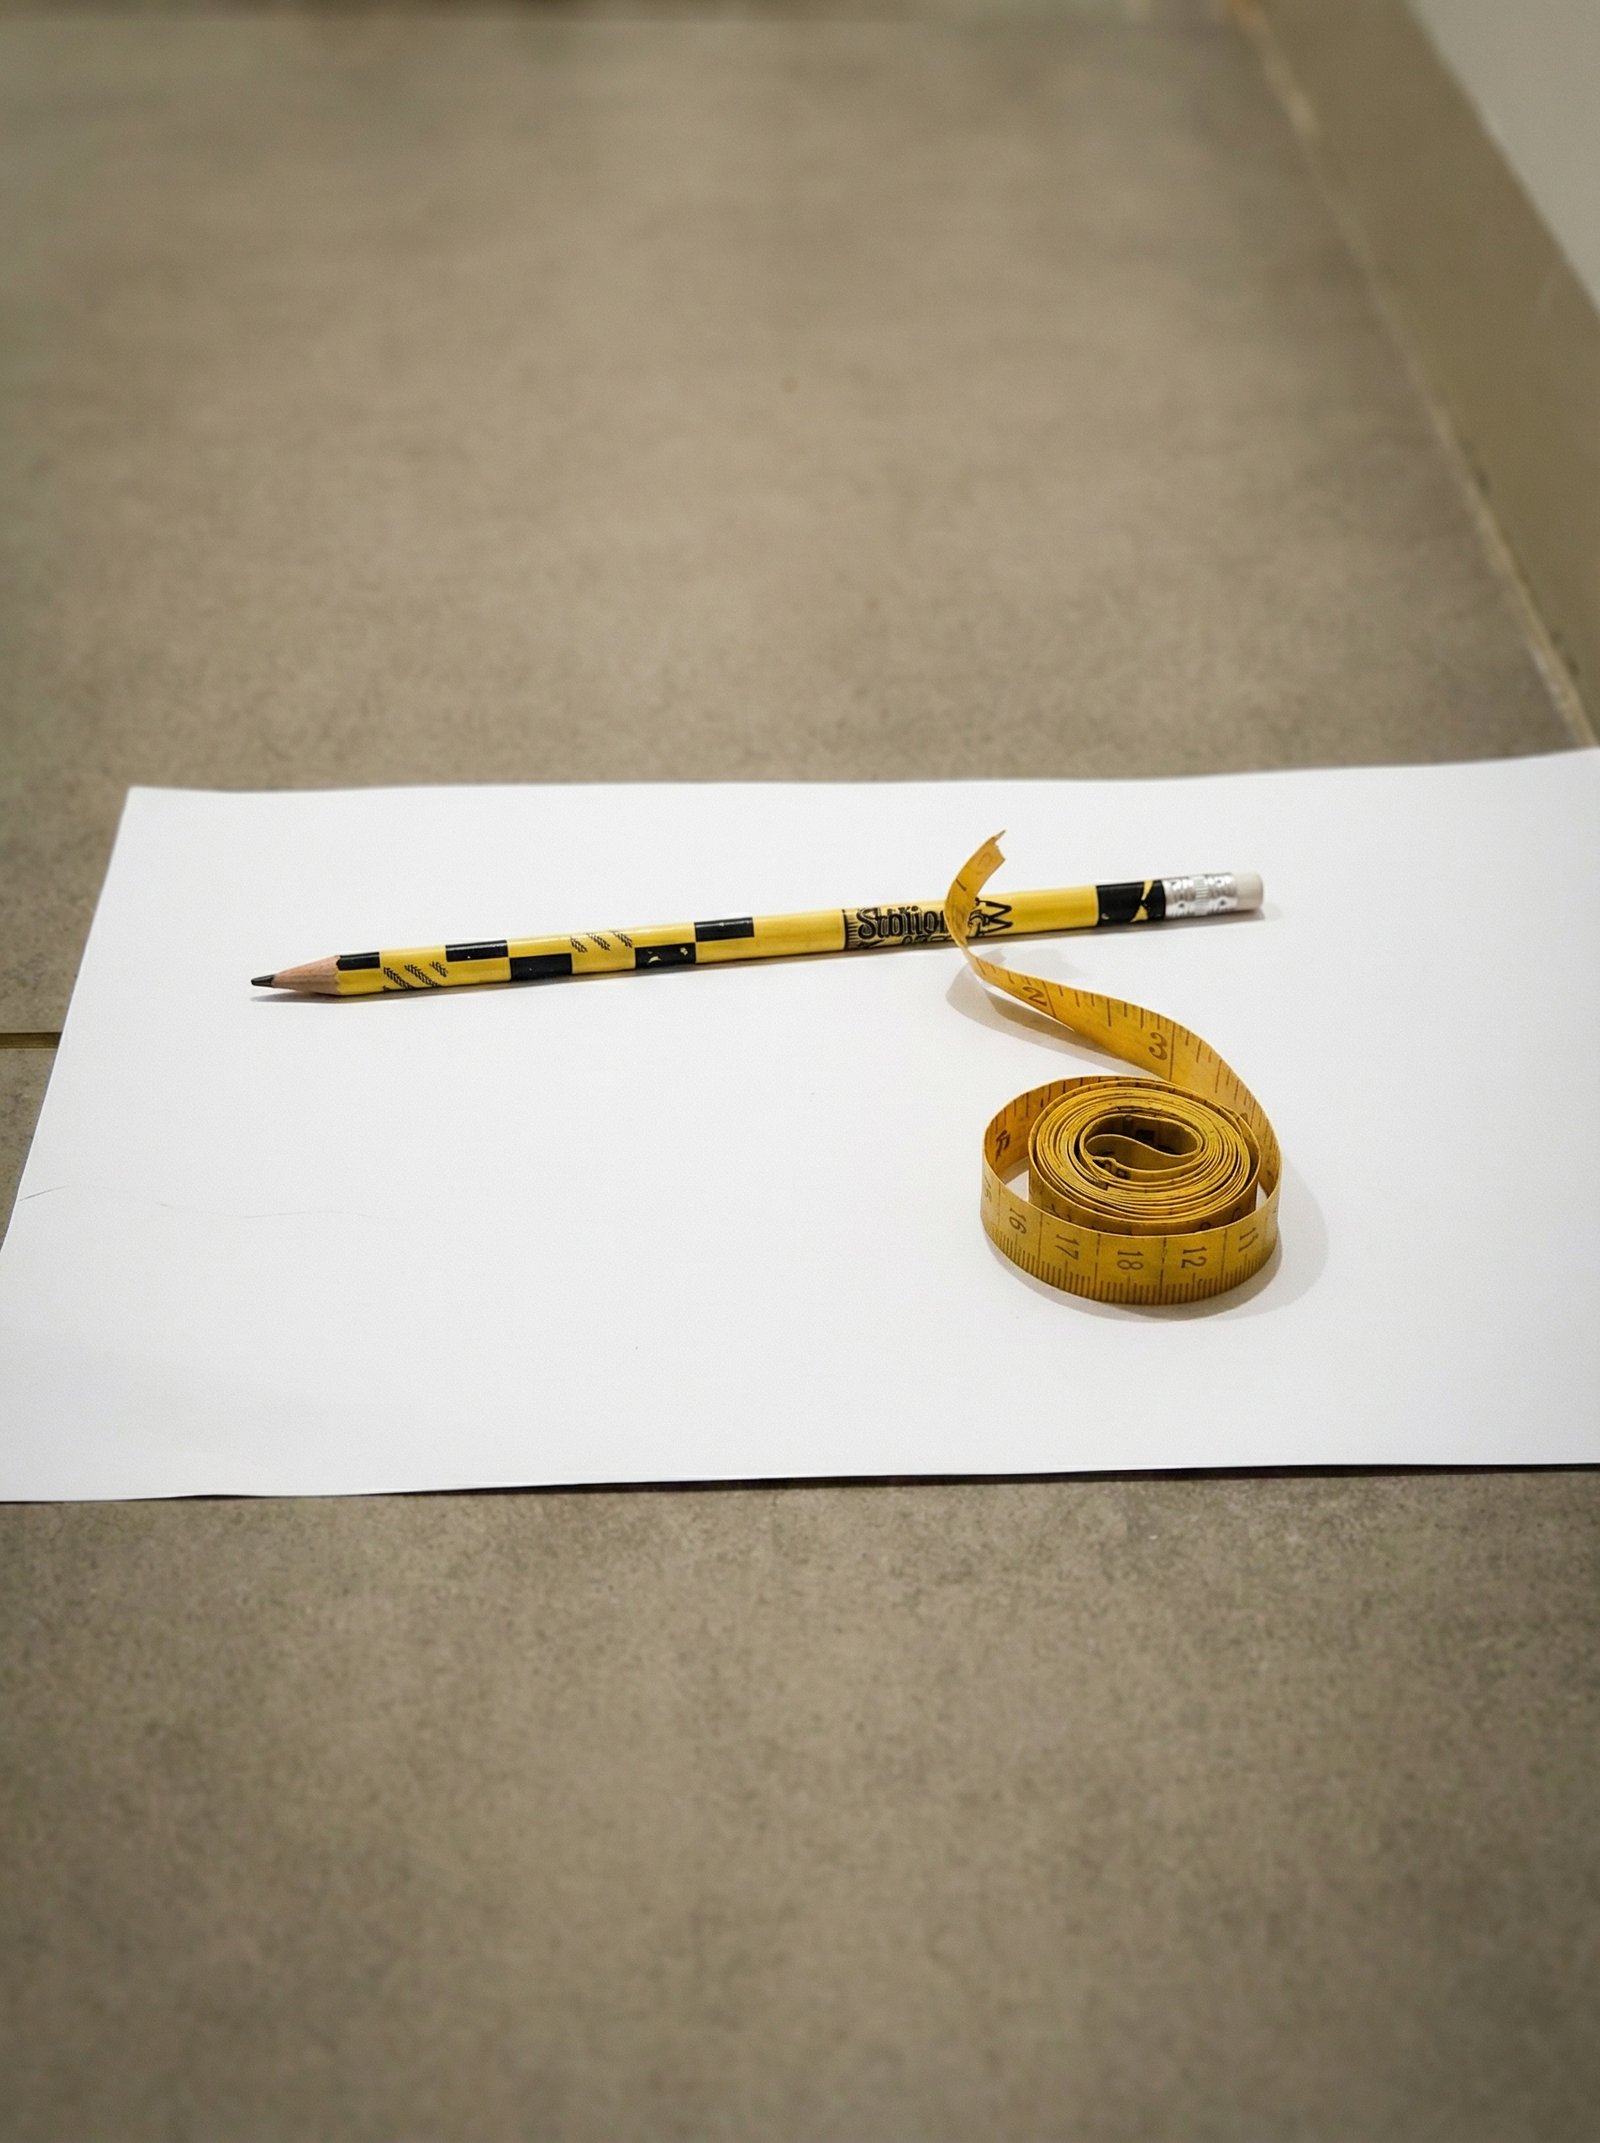
- A blank sheet of white paper (larger than your foot)
- A pencil or pen
- A ruler or rigid measuring tape
- A flexible tailor's measuring tape (for girth)
- A helper — optional but recommended
- The socks you plan to wear with the shoes
Measure in the afternoon — feet are at their largest natural size.
Measurement One
Foot Length
Measured from the back of the heel to the tip of your longest toe. Stand with full weight on the foot — your foot expands slightly when bearing weight.
Step One
Position Your Foot
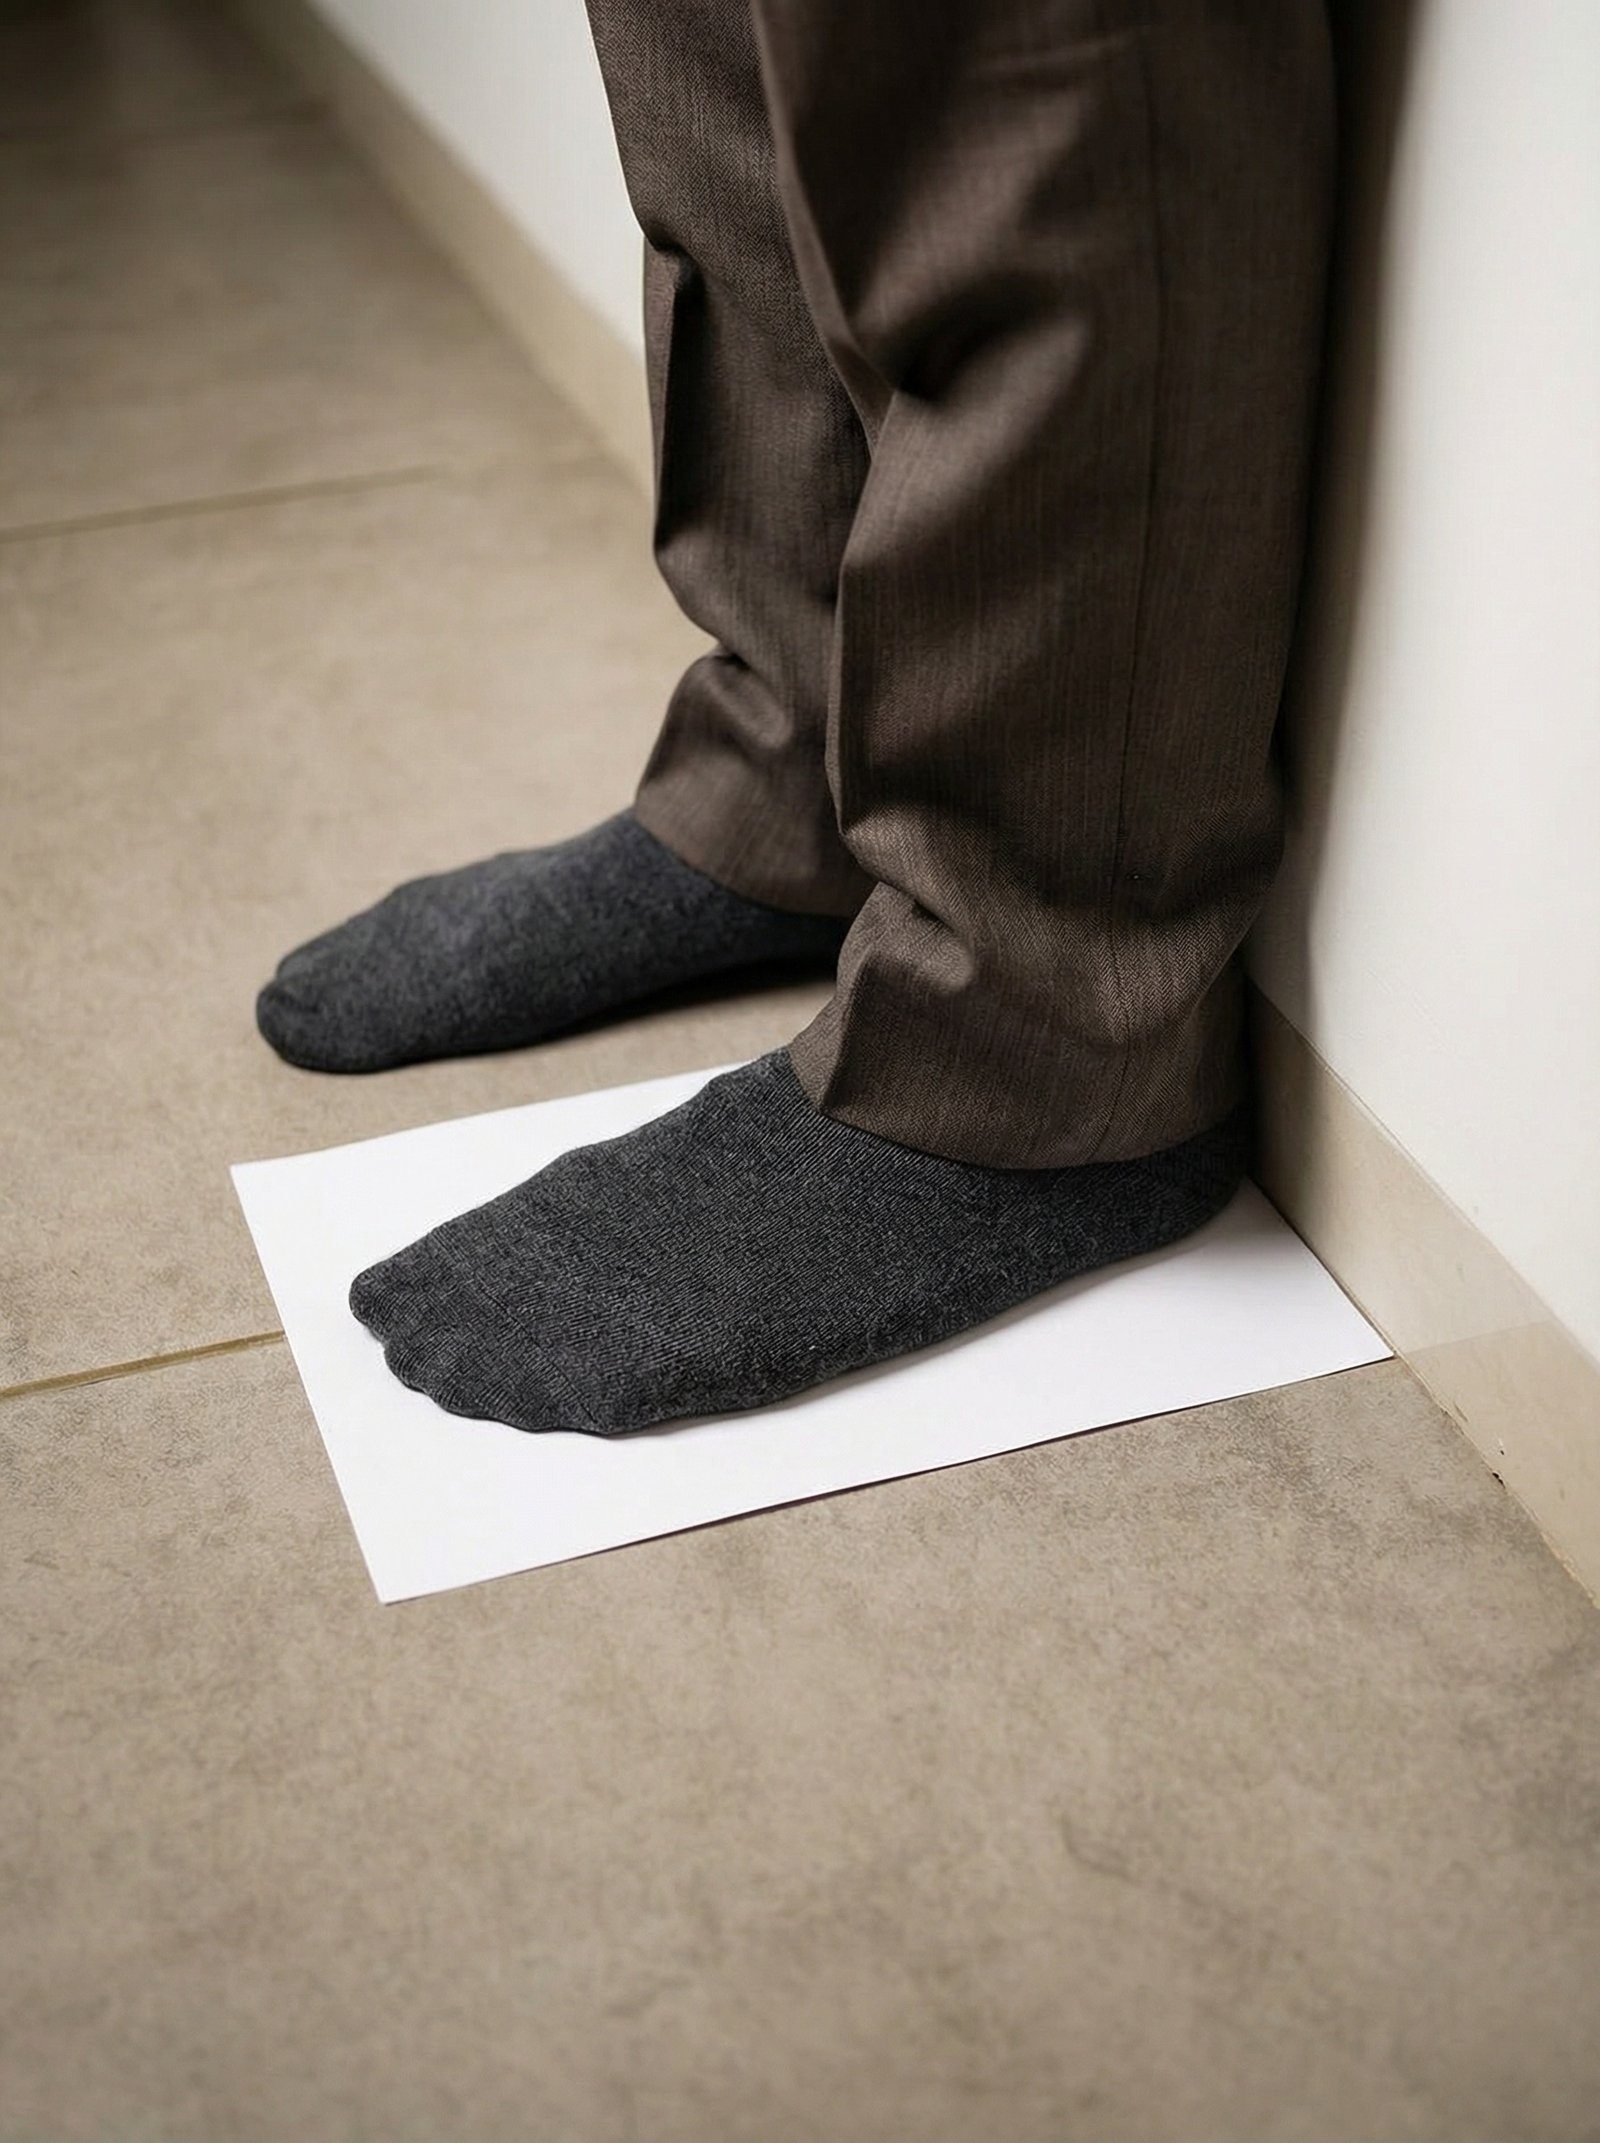
- Place paper on a hard flat floor
- Heel firmly against the wall
- Full weight distributed evenly
- Stand naturally — don't curl toes
- Wear the socks you'll use with the shoes
Heel flush against wall, full weight on foot
Step Two
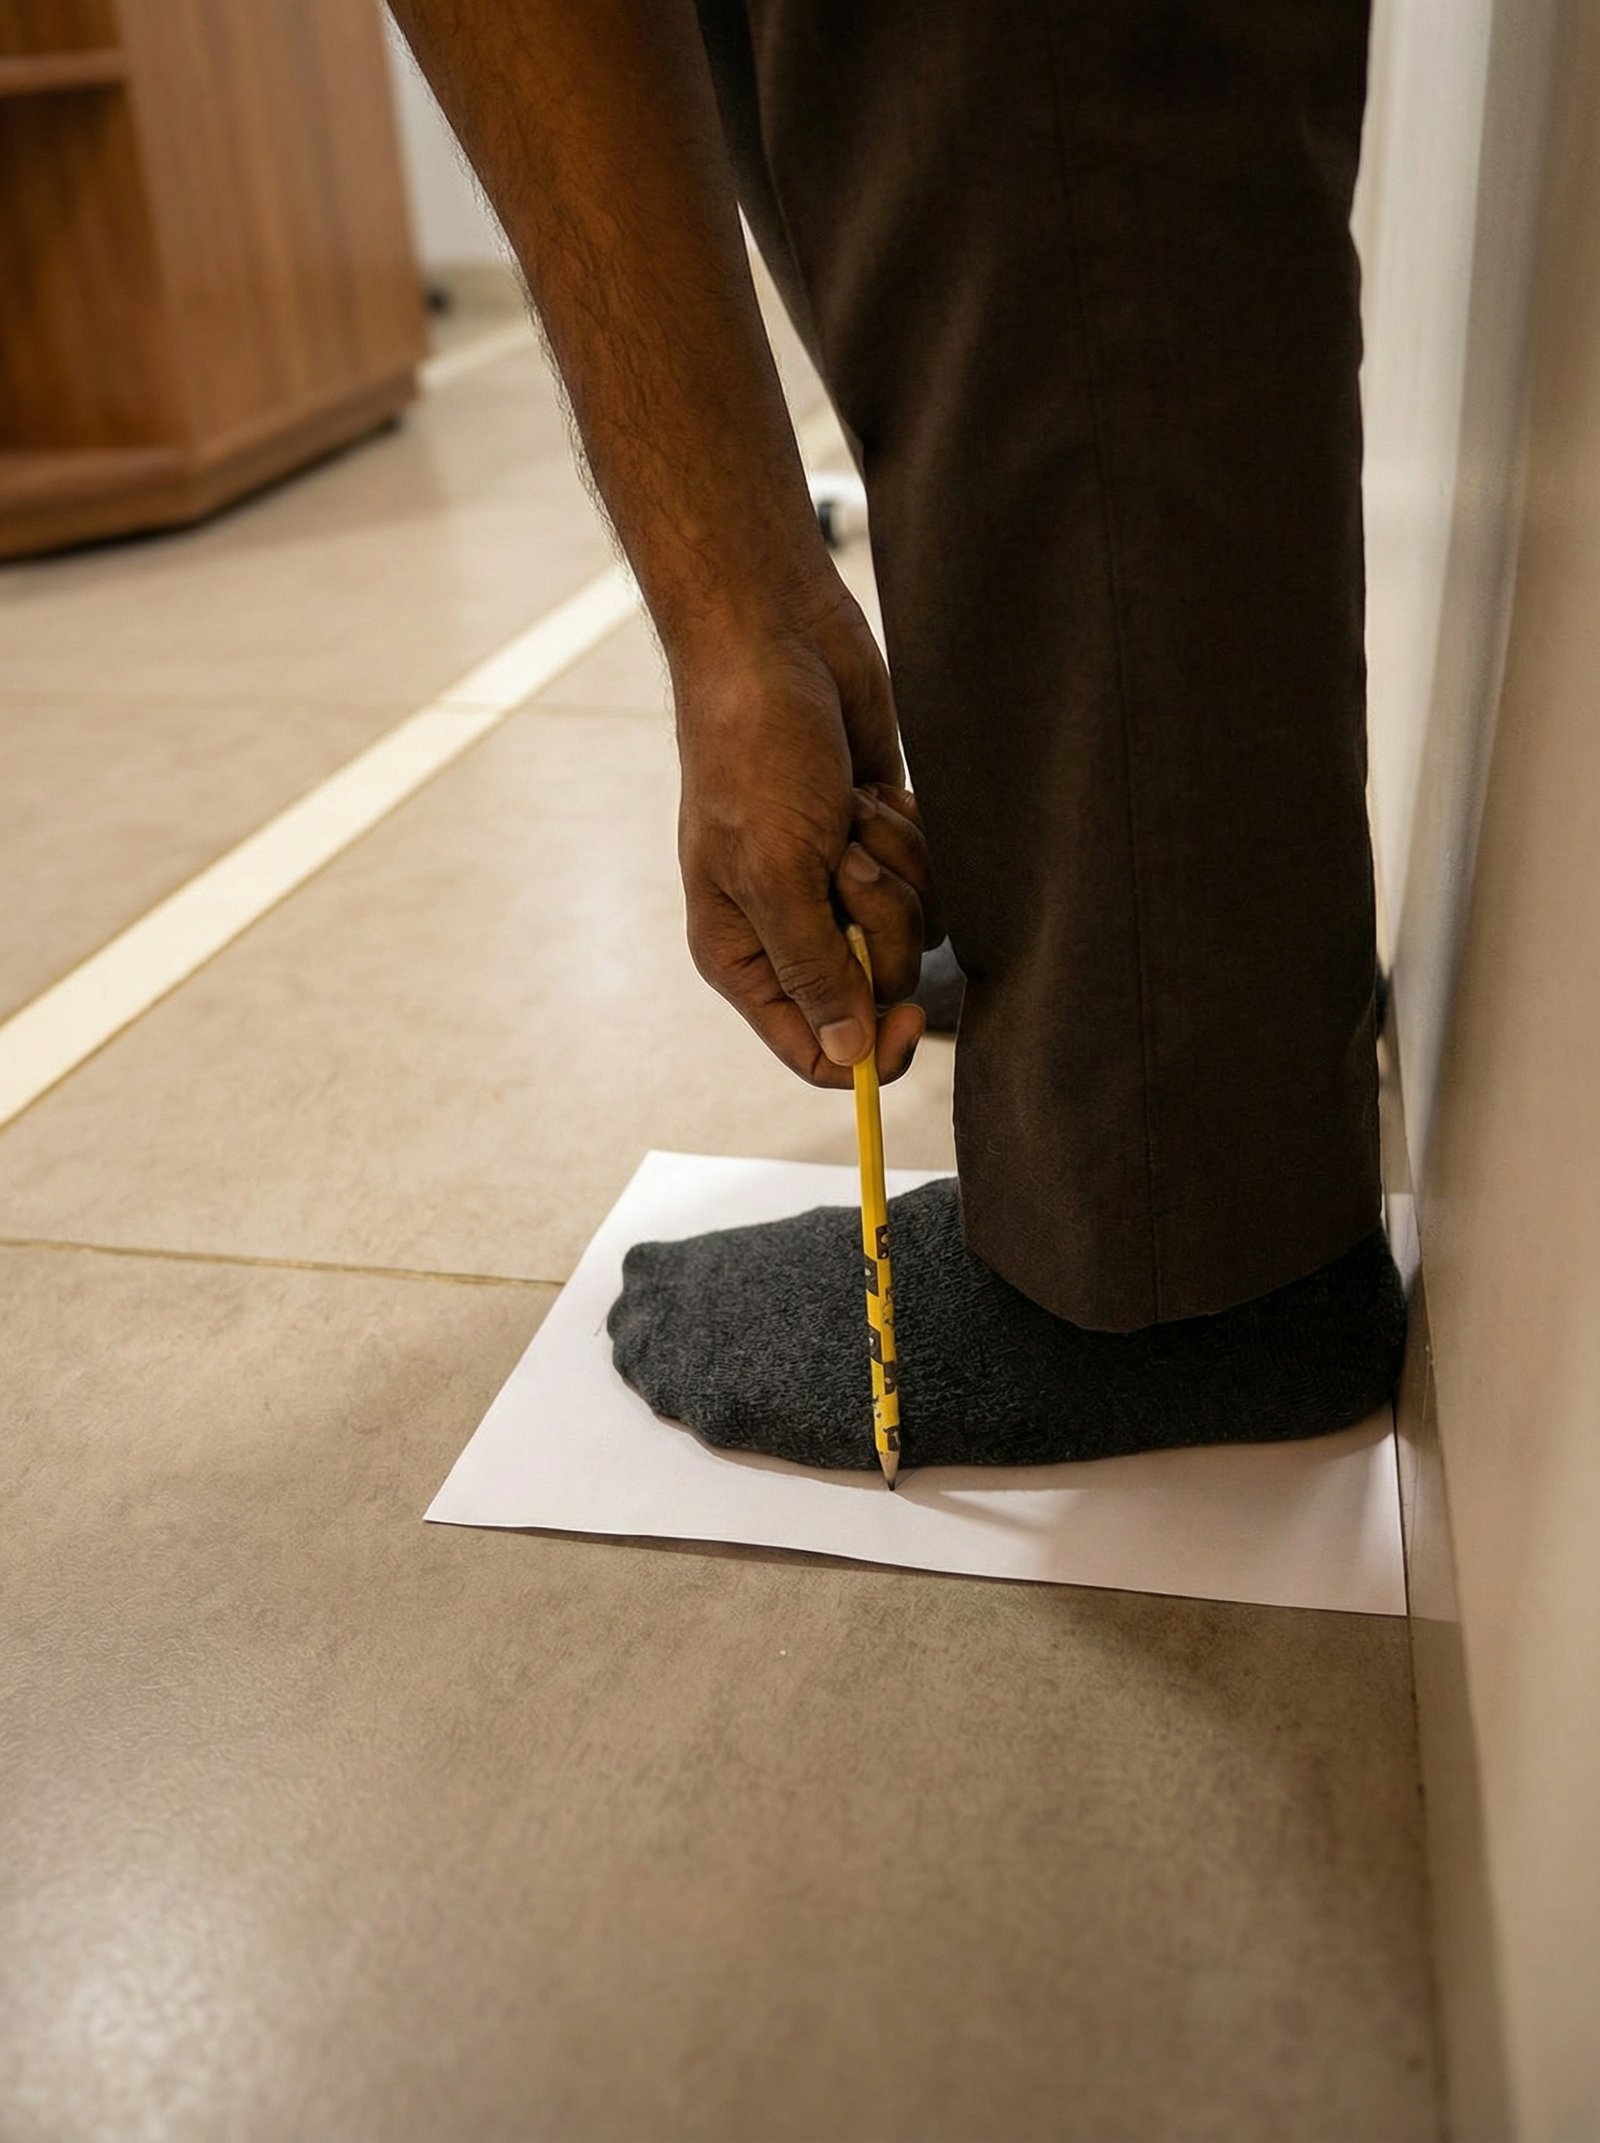
Mark the Measurements
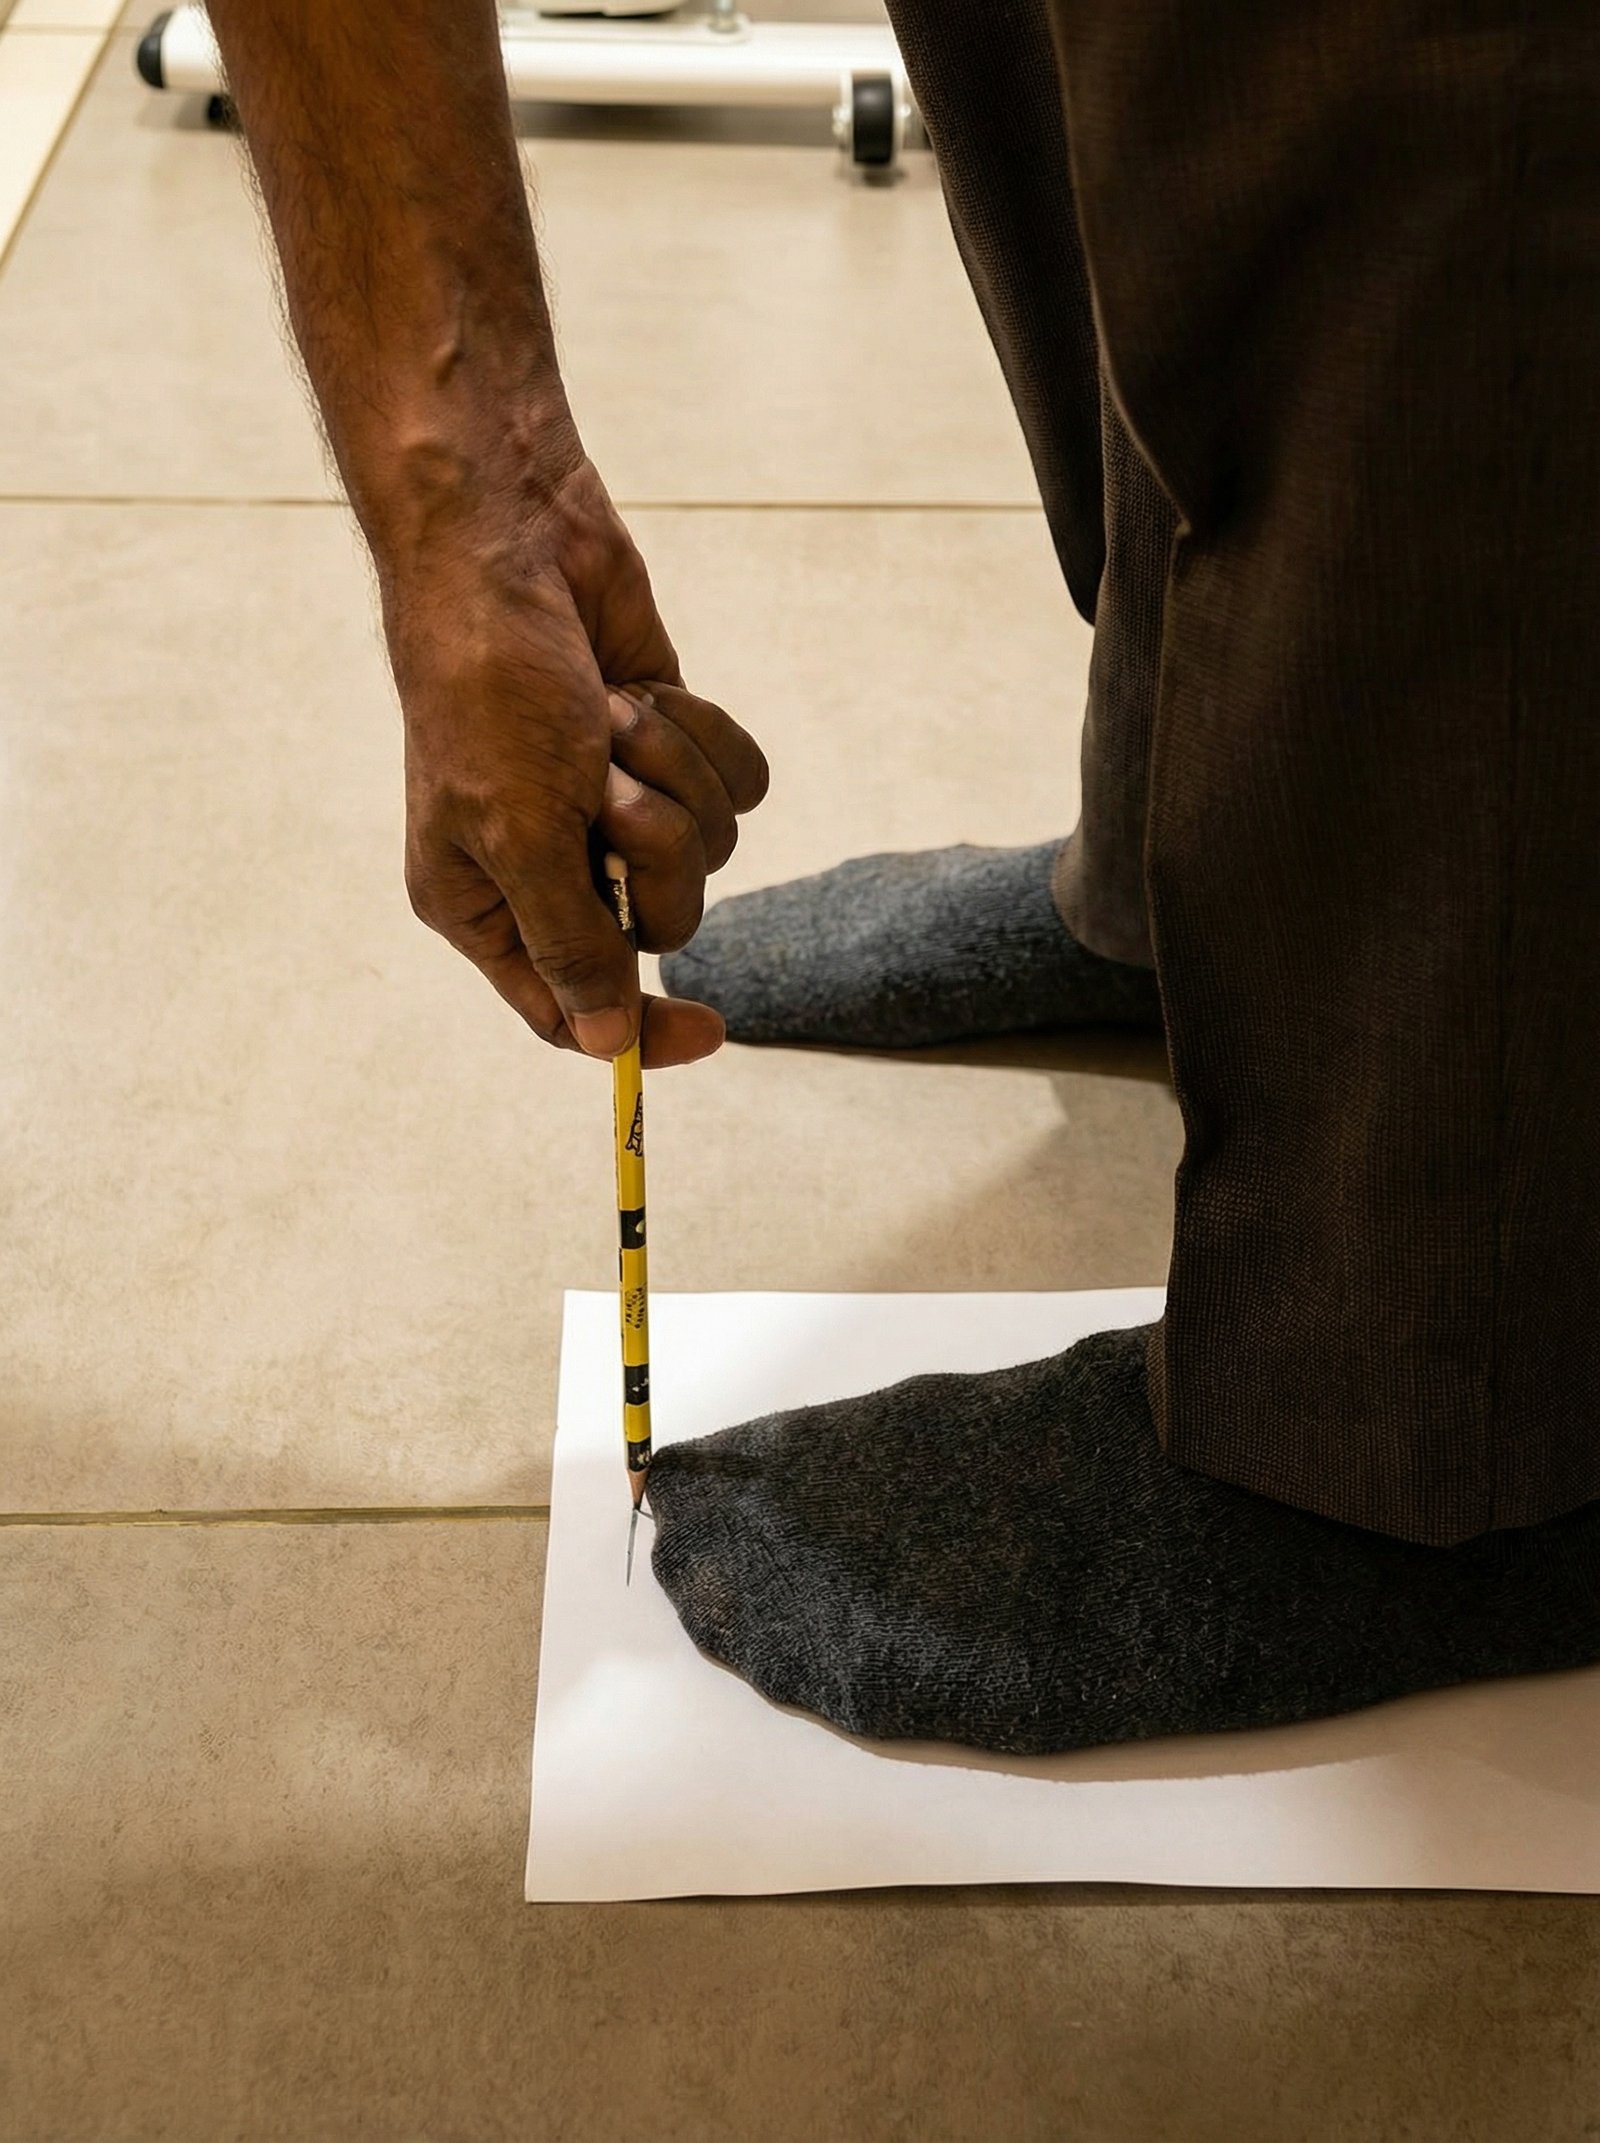
- Hold pencil vertical — perpendicular to paper
- Mark the tip of your longest toe
- This may be 2nd toe, not the big toe
- Also mark the heel edge if not against wall
Pencil vertical, marking the longest toe tip.
Step Three
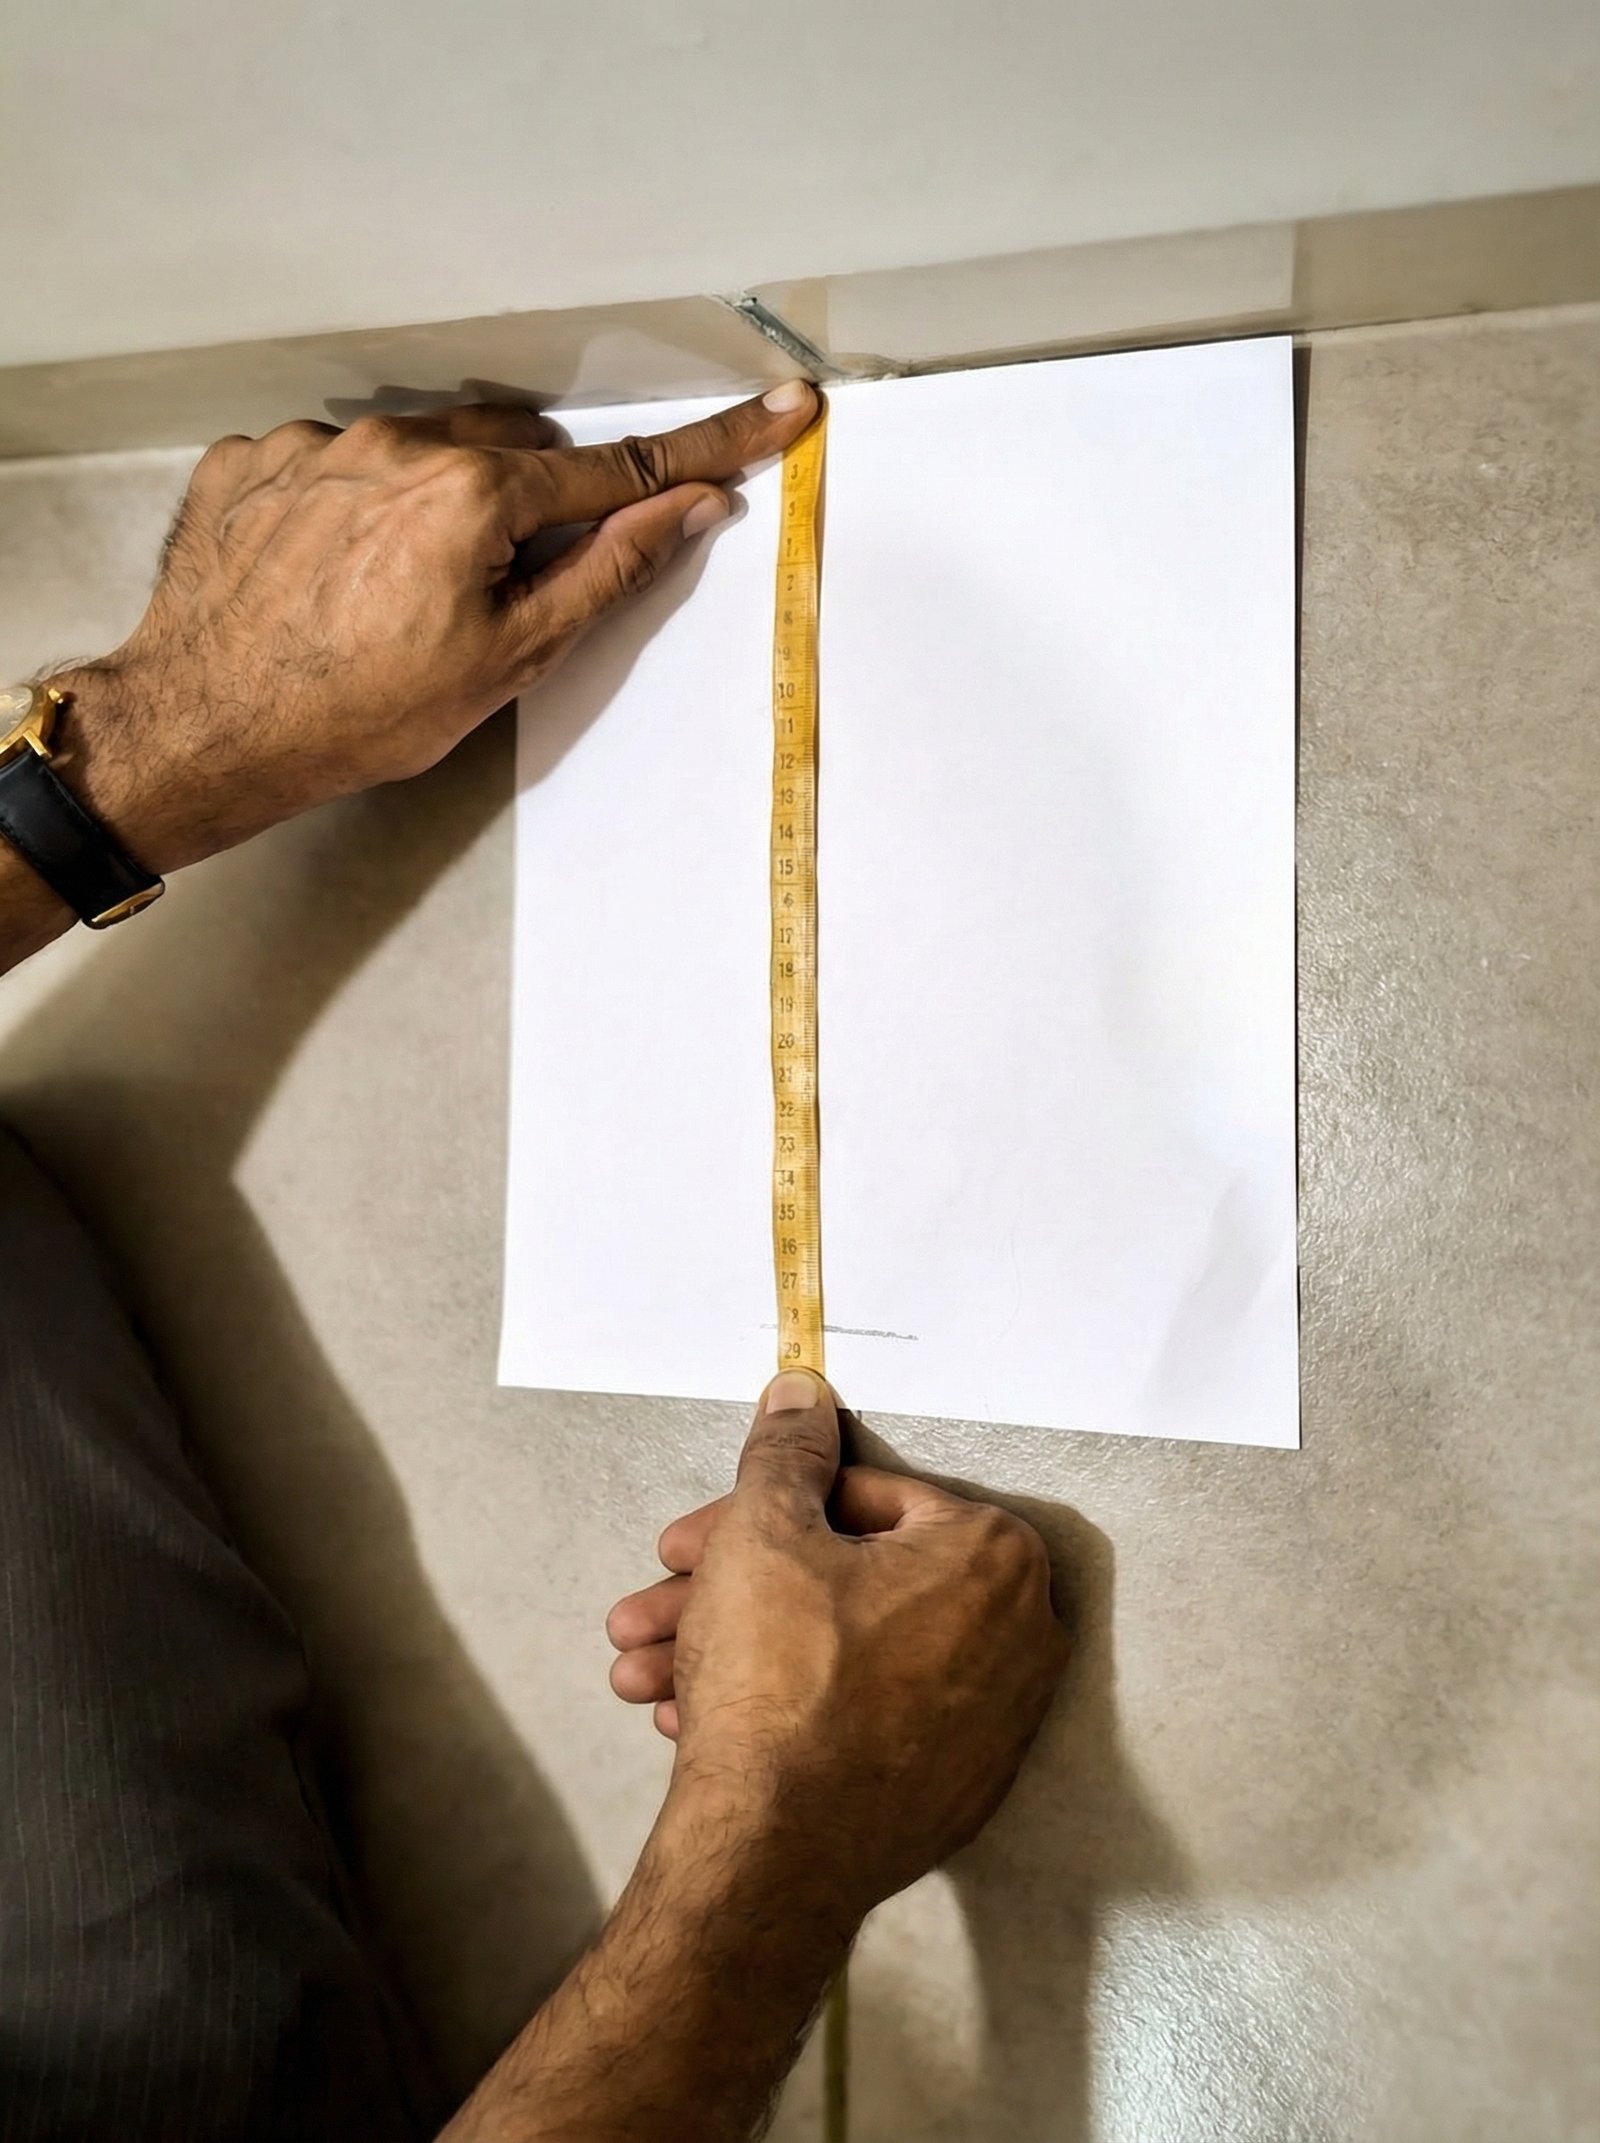
Measure the Length
- Lay tape flat between heel mark and toe mark
- Record in both centimetres and inches
- Measure both feet — they often differ
- Always use the larger of the two
- Repeat 2–3 times and average if needed
Tape laid flat across the two pencil marks.
Measurement Two
Foot Width
The straight-line distance across the ball of your foot — where the big-toe joint and pinky-toe joint are at their widest.
Step One - With Socks
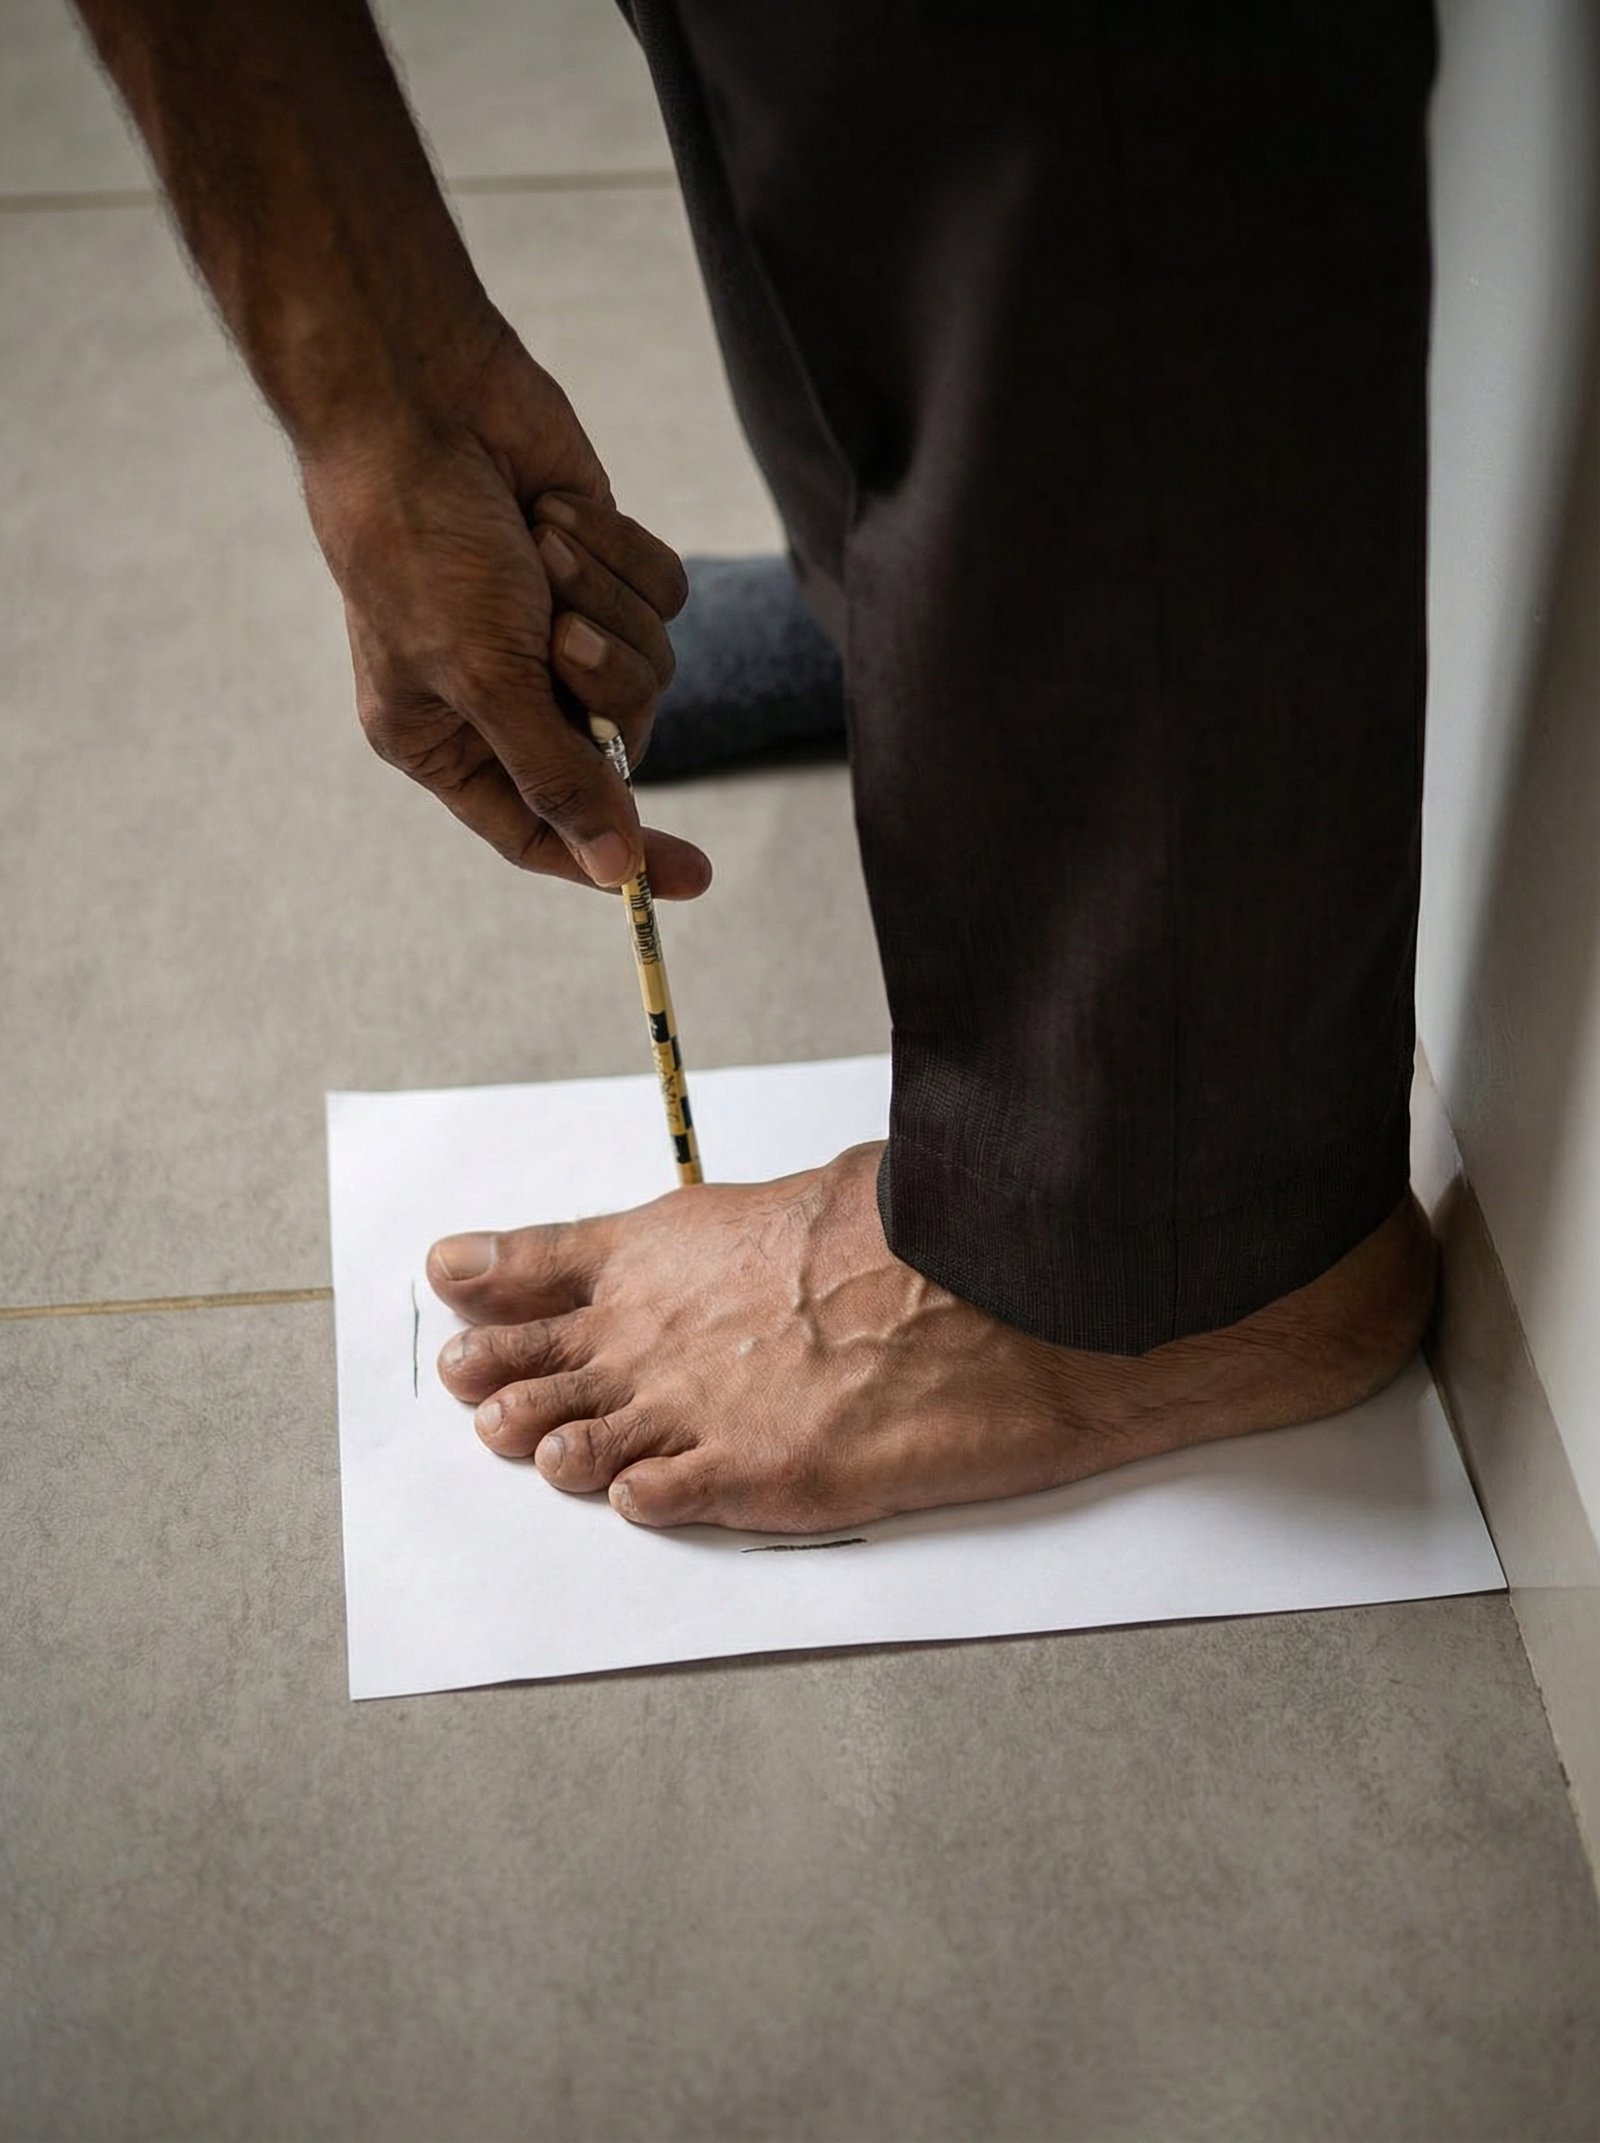
Mark Widest Points
- Stand with full weight on foot
- Mark inner (big-toe side) widest point
- Mark outer (pinky side) widest point
- Always use the larger of the two
- Marks at same horizontal level
Both widest points marked while wearing socks.
Step Two - Reference
Confirm Ball Position
- Briefly remove socks to see anatomy
- Confirm joints' exact positions visually
- Verify Step 1 marks are correct
All final measurements taken with socks on.
Step Three
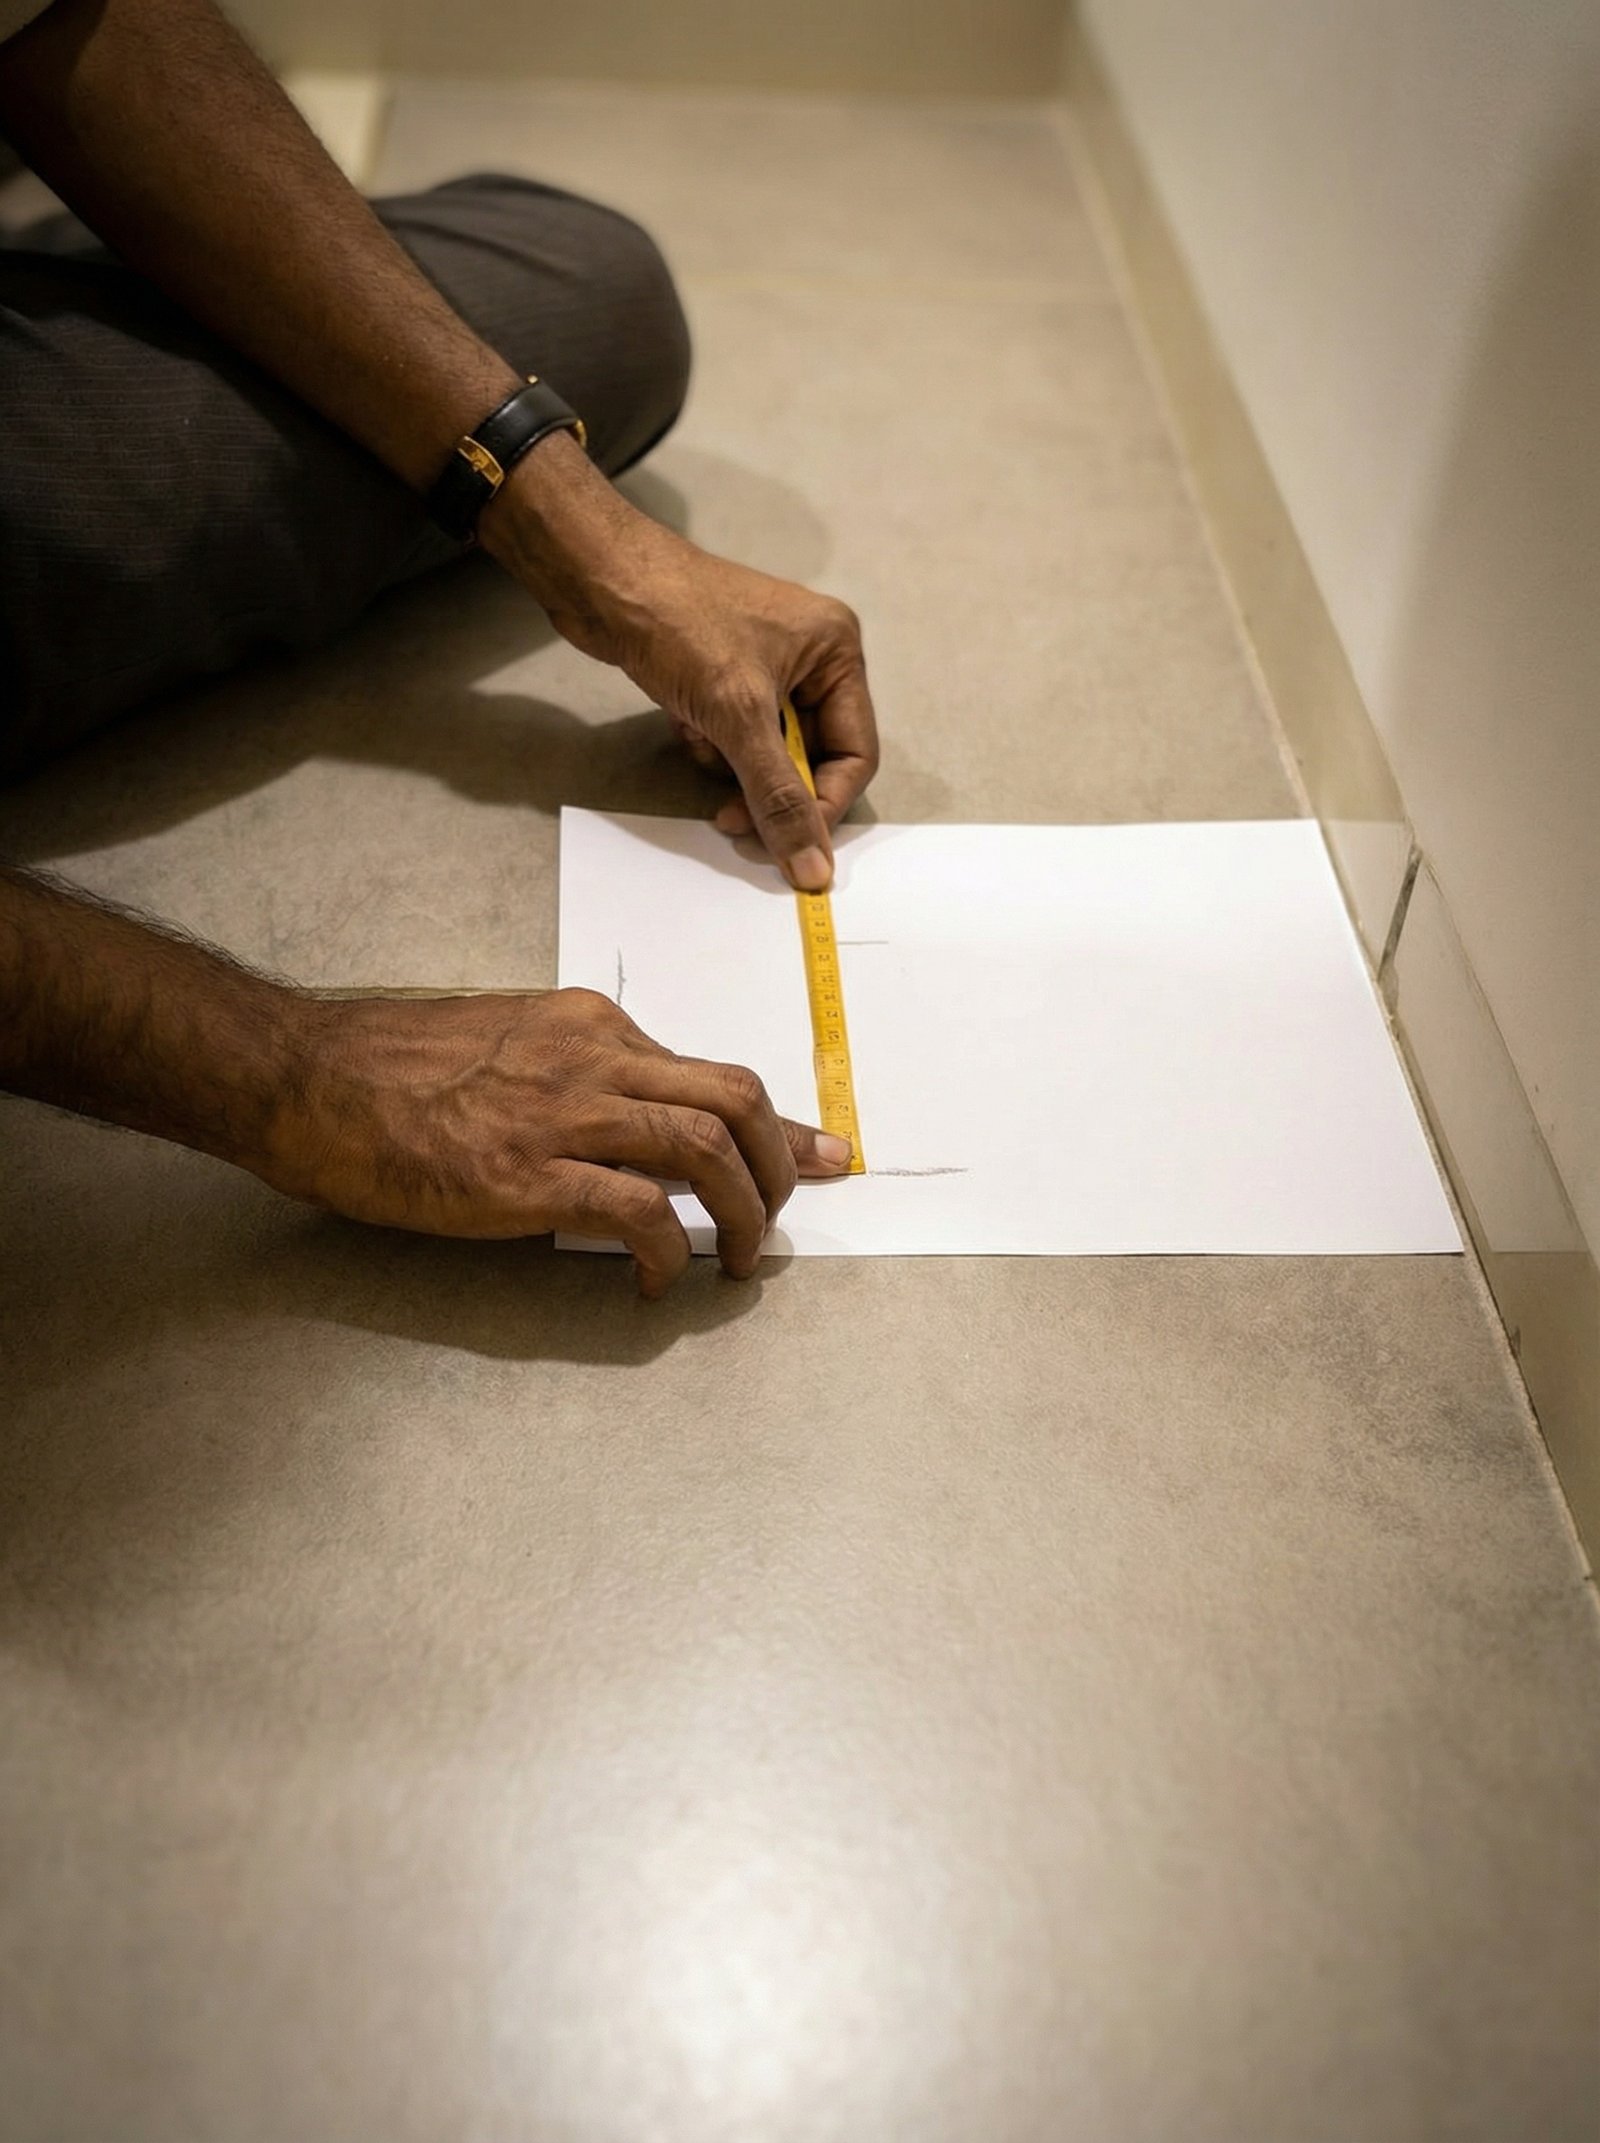
Measure the Width
- Measure straight across the two marks
- Keep tape parallel to the floor
- Small vertical mismatch is acceptable
- Record in cm and inches
- Use the larger foot measurement
Tape across both marks — level and straight
Measurement Three
Foot Girth
The circumference around the ball of your foot — same widest area as width. Girth captures the true volume of your foot and ensures the shoe doesn't pinch across the instep.
HOW TO MEASURE
Wrap the Flexible Tape
- Sit with your foot resting flat on the floor
- Wrap soft tape around the ball of the foot
- Path: across ball → under arch → back to start
- Keep it snug but comfortable — not tight
- Ensure tape stays level, not twisted
- Read where the tape meets itself
No flexible tape? Wrap a piece of string, mark where it meets, then measure the marked string with a ruler.
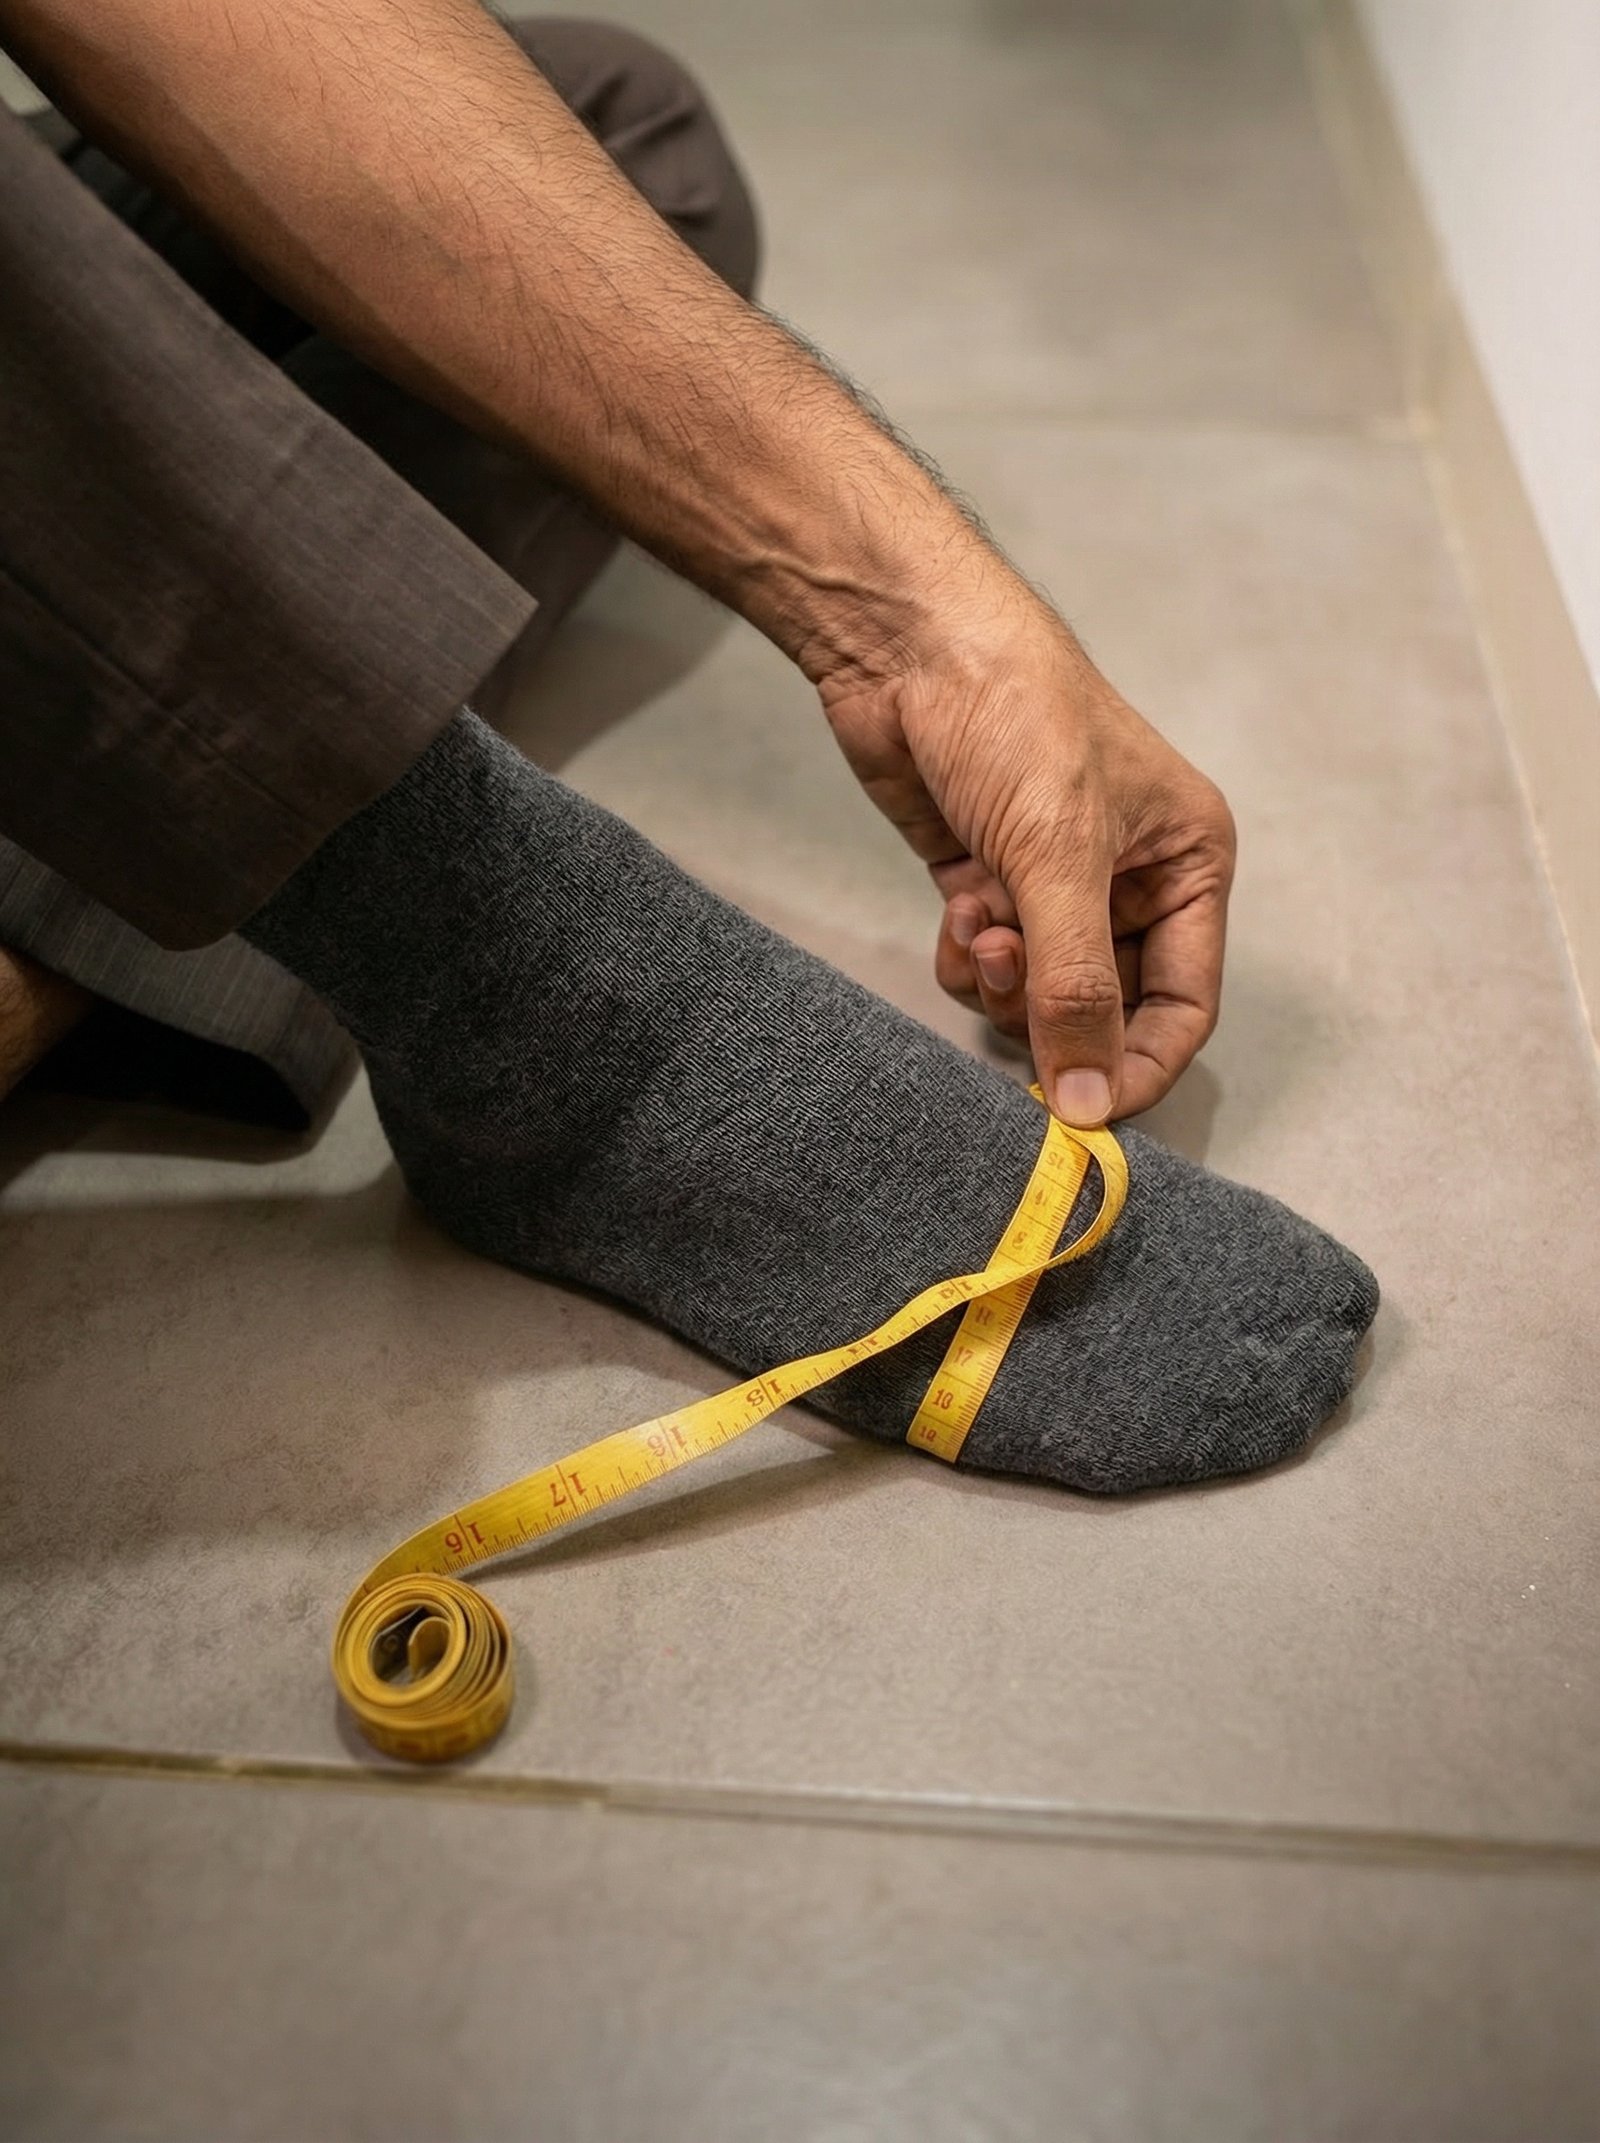
Complete Measurment Overview
| Measurement | What It Is | How To Take It |
|---|---|---|
| 01 Foot Length | Heel to tip of longest toe | Stand on paper vs wall; mark & measure |
| 02 Foot Width | Widest part across the ball | Mark both sides; measure straight across |
| 03 Foot Girth | Circumference around the ball | Wrap flexible tape; read where it meets |
Important tips for accurate measurements
01
Timing Matters
Measure afternoon or evening — feet swell throughout the day.
02
Both Feet
Most people have different sized feet. Always use the larger one.
03
Wear Socks
If wearing thick socks, measure with them on.
04
Stand Up
Feet expand when you stand, so measure while standing.
05
Double-Check
Measure 2–3 times and take the average or largest value.
|
MENS |
WOMENS |
||||||
|---|---|---|---|---|---|---|---|
|
CM |
UK |
EU |
US |
CM |
UK |
EU |
US |
|
|
|
|
|
22.1 |
3 |
36 |
5 |
|
|
|
|
|
22.5 |
3.5 |
36.5 |
5.5 |
|
|
|
|
|
22.9 |
4 |
37 |
6 |
|
23.4 |
5 |
39 |
6 |
23.4 |
4.5 |
37.5 |
6.5 |
|
23.8 |
5.5 |
39.5 |
6.5 |
23.8 |
5 |
38 |
7 |
|
24.2 |
6 |
40 |
7 |
24.2 |
5.5 |
38.5 |
7.5 |
|
24.6 |
6.5 |
40.5 |
7.5 |
24.6 |
6 |
39 |
8 |
|
25 |
7 |
41 |
8 |
25 |
6.5 |
39.5 |
8.5 |
|
25.5 |
7.5 |
41.5 |
8.5 |
25.5 |
7 |
40 |
9 |
|
25.9 |
8 |
42 |
9 |
25.9 |
7.5 |
40.5 |
9.5 |
|
26.4 |
8.5 |
42.5 |
9.5 |
26.4 |
8 |
41 |
10 |
|
26.8 |
9 |
43 |
10 |
26.8 |
8.5 |
41.5 |
10.5 |
|
27.2 |
9.5 |
43.5 |
10.5 |
27.2 |
9 |
42 |
11 |
|
27.6 |
10 |
44 |
11 |
27.6 |
9.5 |
42.5 |
11.5 |
|
28 |
10.5 |
44.5 |
11.5 |
28 |
10 |
43 |
12 |
|
28.5 |
11 |
45 |
12 |
28.5 |
10.5 |
43.5 |
12.5 |
|
28.9 |
11.5 |
45.5 |
12.5 |
28.9 |
11 |
44 |
13 |
|
29.3 |
12 |
46 |
13 |
29.3 |
11.5 |
44.5 |
13.5 |
|
29.7 |
12.5 |
46.5 |
13.5 |
29.7 |
12 |
45 |
14 |
|
30.1 |
13 |
47 |
14 |
30.1 |
12.5 |
45.5 |
14.5 |
We can use this information to help size forthe handcrafted
Elegance.
The more time we take now, will help in the long-term.
Trying shoes on at home!
- Please do so on a carpet or a rug so not to dent and scratch the leather soles. Rubber soles can be tried on, on a hard surface.
- Do not walk outside. Shoes & boots worn outside are NOT eligible for return.
- For Oxfords, Derby’s and Monk shoes & boots, open the laces fully so to minimise creasing on the vamp.
- For Loafers, use a shoe horn or the supportive card inside the shoes, to slide your foot into the loafers. This protect the back part of the loafer from damage.
- When test fitting / walking, try not to flex the shoes fully. You will be able to feel if the shoes are too big or too small without having to walk more than a few steps.
- You should NOT be able to fit your index finger between your heel and the back of the shoes when your foot is inside.
- A little heel slip is expected on all new shoes. This will reduce through wear, once the shoes mould to your feet over time.
- Your toes should NOT be at the end of the shoes.
Shoes & boots that fit, will be comfortable from the moment your try them on
If you are still unsure and wish to discuss your measurements, please contact our Online Retail Services team.
Men's
Collection
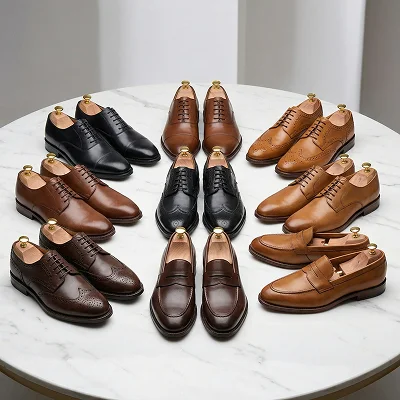
Using only the finest calf leathers from the leading tanneries of Europe,the handcrafted Elegance shoes are individually crafted on lasts designed to produce the best possible fitting characteristics. Each pair takes up to eight weeks to manufacture in a labour-intensive process involving over 200 highly skilled operations.